Can I Make My Own Custom Picture Frames?
Creating your own custom picture frames can be a fun and rewarding DIY project that allows you to showcase your creativity and personalize your home decor. Whether you are looking to display a special piece of artwork, a cherished photograph, or a unique print, making your own custom picture frames can add a personal touch to any space. If you are wondering whether you can make your own custom picture frames, the answer is a resounding yes! With the right tools, materials, and a bit of creativity, you can easily create custom frames that reflect your style and taste.
Choosing the Right Materials
One of the first steps in making your own custom picture frames is selecting the right materials. The most common materials used for DIY picture frames include wood, metal, and plastic. Wood is a popular choice for its versatility and ease of customization. You can choose from a variety of wood types, such as pine, oak, or maple, depending on the look you want to achieve. Metal frames offer a sleek and modern aesthetic, while plastic frames are lightweight and durable.
Selecting the Right Tools
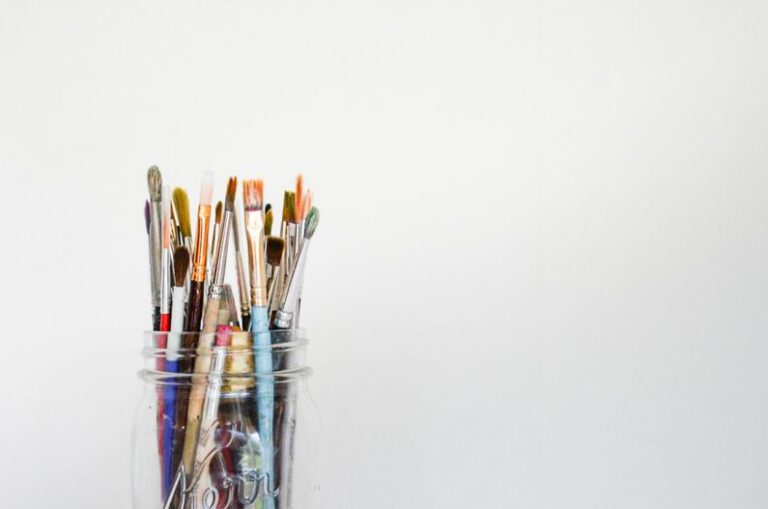
To create custom picture frames, you will need a few essential tools. These include a miter saw or miter box for cutting the frame pieces at precise angles, a tape measure for accurate measurements, a hammer and nails or a wood glue for assembly, and sandpaper for smoothing out rough edges. If you plan to paint or stain your frames, you will also need paintbrushes or a stain applicator.
Designing Your Frames
When it comes to designing your custom picture frames, the possibilities are endless. You can choose to keep it simple with a classic rectangular frame or get creative with unique shapes and designs. Consider adding decorative elements such as beading, carving, or embossing to give your frames a one-of-a-kind look. You can also experiment with different finishes, colors, and textures to match your existing decor or make a bold statement.
Assembling Your Frames
Once you have cut your frame pieces to size and designed them to your liking, it’s time to assemble your custom picture frames. If you are using a miter saw, be sure to cut the angles accurately to ensure a seamless fit. Use wood glue or nails to secure the corners of the frame together, making sure everything is aligned properly. For a professional finish, you can use a clamp to hold the pieces together while the glue dries. Once the frame is assembled, you can add a backing board and glass or acrylic to protect your artwork.
Adding the Finishing Touches
The final step in creating your own custom picture frames is adding the finishing touches. This can include painting or staining the frame to match your decor, applying a clear coat for added protection, and attaching hardware for hanging. You can also personalize your frames further by adding embellishments such as ribbons, charms, or decorative accents. Don’t be afraid to get creative and make your frames truly unique.
Express Your Creativity
Making your own custom picture frames is a great way to express your creativity and showcase your personal style. Whether you are a seasoned crafter or a beginner DIY enthusiast, creating custom frames is a rewarding and enjoyable project that allows you to add a personal touch to your home decor. With the right materials, tools, and a bit of imagination, you can make custom picture frames that are as unique as the memories and artwork they hold. So go ahead, unleash your creativity and start making your own custom picture frames today!


